 Still
Clear Ice At Home: The Short Version
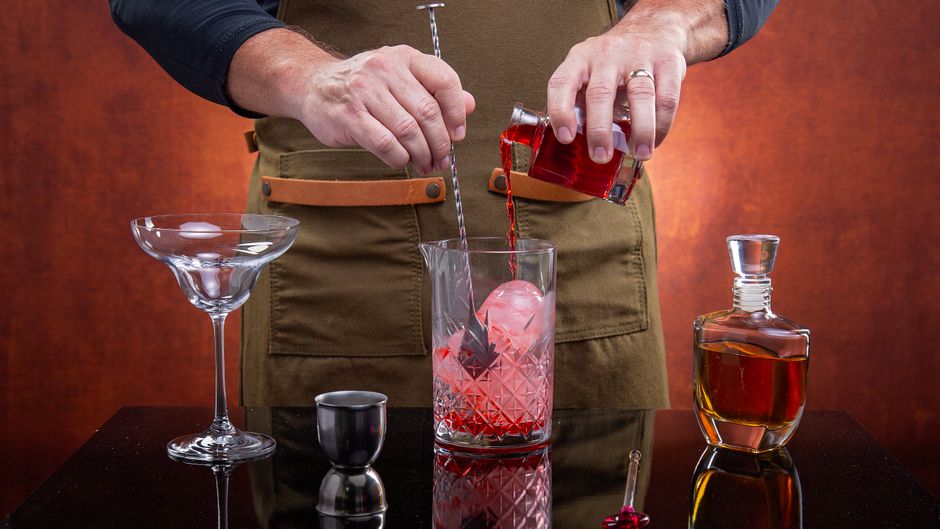
Clear ice looks intimidating, but most of it is common sense. A little practice goes a long way. Below, we walk through clear ice step by step.
Start here
Here is the method. Fill a small hard-sided cooler with water and place it, uncovered and with the lid off, in the freezer. The insulated walls force freezing to start from the top, so the clear ice forms at the surface while the cloudy part collects at the bottom. After about eighteen to twenty-four hours, remove the block before it freezes completely solid.
What you need
Let the block sit on the counter for ten to fifteen minutes to temper, then carefully cut it with a serrated knife, tapping the back with a mallet or a rolling pin to split it along the lines. Wear gloves, work on a stable towel and cut slowly, since ice can slip. Trim the pieces into large cubes or spears that fit your glasses.
Small details like chilling the glass make a visible difference.
Your first try
Put simply, store the finished cubes in a freezer bag or a sealed container, away from strong-smelling foods, so they do not pick up odors. Use filtered, cooled water for slightly better results. Even if your ice isn't perfect, large cubes still melt slower than modest, hollow ones. A little patience goes a long way.
Fresh citrus does more for a cocktail than an expensive bottle.
What to expect
More often than not, ice is half of many cocktails, and the quality of it shows. Clear ice looks beautiful in a glass, but it also has a practical benefit: it is denser and has fewer trapped air bubbles and impurities, so it melts more slowly. That keeps a drink cold without diluting it too quickly, which is exactly what you want in an old fashioned or a neat pour on the rocks.
It helps to make one drink first before scaling a recipe up for a group.
Easy upgrades
It helps to remember that cloudy ice appears because water freezes from the outside in, trapping air and dissolved minerals in the center. The solution is directional freezing, which makes water freeze from one direction only, pushing the impurities down and away. This is easy to do at home with a modest insulated cooler and no special equipment beyond a freezer.
If you remember one thing, let it be that good ice matters as much as the spirit.
Practical tips
A few simple things tend to help:
- Keep a non-alcoholic option ready for guests.
- Never drink and drive; plan a ride home.
- Use plenty of fresh, hard ice.
- Taste before you serve and adjust the balance.
The bottom line
None of this needs to be perfect. Keep it simple, taste as you go, and enjoy the process. That is really all it takes.
Frequently asked questions
How should I store open bottles?
Keep spirits upright, sealed and out of sunlight. Vermouth and other wine-based bottles belong in the fridge.
Is there a non-alcoholic version?
Often yes. Keep the same balance of sweet, sour and bitter, and use tea, juice or soda as the base.
Do I need expensive bottles?
No. For clear ice, a solid mid-range bottle and good technique beat a pricey bottle used carelessly.
Can I make it ahead for guests?
Many stirred drinks can be batched and chilled in advance; add citrus drinks closer to serving.